ImageMagick Installation

This page is Mac specific, however, a Linux user should be able to easily follow it to install everything on their machine. Windows users should look at the Windows Specific Information.
1. Install ImageMagick from source (you must compile it. You can use Fink if you wish).
2. ALTERNATIVELY, you can download a binary release from the ImageMagick website.
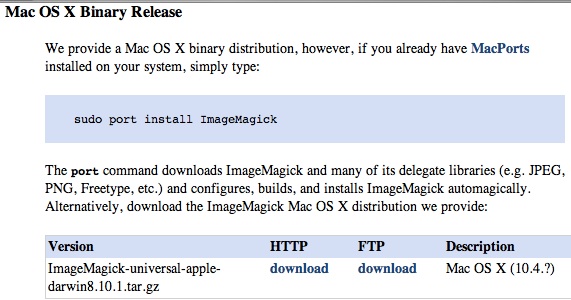
MacOSX binary
Be sure to get the correct version.
Here is the one that I downloaded for MacOSX
Firefox may work better than Safari for downloading from this site.
3. Follow the instructions for how to install.
4. Put your ImageMagick Folder somewhere where you can find it. Write down the correct path so that you can refer to it later.
5. The ImageMagick site tells you that when you want to use ImageMagick that you must do a bunch of exports manually. “Exports” is merely a way to let the operating system and other programs know where the ImageMagick files reside. Doing it manually is too cumbersome. See the solution below.
6. Generate a .bashrc and a .bash_profile that will do the exports.
Notice that these files begin with a dot. Once you make them they will be invisible to “ls”. Use “ls-a” to see them.
On my Intel Mac machines, the Mac terminal uses .bash_profile and the X11 environment uses .bashrc. Strange, I know. This is probably a Mac odditiy.
OR you can put these in a .profile file and it will work with both terminal and X11.
**REDO THIS STEP BY STEP.**
Both of these files be must be in your home directory.
You need to prepare these files with a Unix text editor in a terminal window. Use vim, nano, pico or something else.
If you have a .bashrc file and .bash_profile then append this stuff to the end of them.
Here are the contents of my .bashrc and .bash_profile files (they are identical right now). If you have a .bashrc and .bash_profile then you can append these lines to it.
export PATH ; PATH=$PATH:/Users/Shared/ImageMagick_home/bin/
export MAGICK_HOME="/Volumes/Metropolis/Users/Shared/ImageMagick_home"
export DYLD_LIBRARY_PATH="$MAGICK_HOME/lib"
Here is my bash_profile bash_profile.txt. Download it and within a terminal type these commands:
cp bash_profile.txt .bash_profile
cp bash_profile.txt .bashrc
7. The PATH variable is set to where I keep my ImageMagick bin folder (within in ImageMagick_home).
MAGICK_HOME needs to be the complete path.
8. Quit the terminal program and restart it (or source the dot file). This has to be done so that these configuration files will be read.
9. You can check that the variables match what you entered by typing:
echo $PATH
echo $MAGICK_HOME
echo $DYLD_LIBRARY_PATH
10. Confirm that the ImageMagick program is working. The ImageMagick site tell you to do this:
convert logo: logo.gif
identify logo.gif
display logo.gif
The first command will generate the image called logo.gif. The second one will describe info about the image file. The display command only works in a X11 environment.
***** Consult a Bash shell book if this explanation is as clear as mud.*****
*****It’s easy. The nomenclature is just odd.*****